How to Upload My Webpage Blog From Cpanel to Wordpress
Do you have an HTML file that y'all'd like to add to your WordPress site?
WordPress has an affluence of in-built features that help you create pages and content without needing to use HTML.
That said, we understand in that location are times where you may need to upload a static HTML page to your site. But unfortunately, when you upload these files, you're likely to face an mistake saying 'distressing, this file type isn't permitted' or an Error 404.
In this guide, nosotros'll show you how to upload HTML file to WordPress safely – without causing any errors.
When to upload HTML files to WordPress
Before nosotros show y'all how to upload your HTML file to WordPress, it's important to empathize when this would work and when you shouldn't do it.
There are a few reasons why yous might desire to apply an HTML file on your site:
i. Yous desire a custom page layout – Though WordPress themes come up with sufficient features to customize your site, there are times when you might find that information technology doesn't support a specific layout you desire. Creating an HTML file would permit you lot to get the design and await that you lot want.
ii. You have an existing HTML file – You lot may have built a website using HTML in the by and want to switch it over to WordPress. And so uploading HTML files might be easier than recreating the content. Information technology would save yous a lot of fourth dimension.
three. You need to verify Google Search Console – There are unlike ways to verify your domain ownership while signing up on Google Search Console or Analytics. The recommended method is to upload the Google HTML verification file.
Uploading HTML files tin can cause errors on your site, and so y'all should evaluate your reasons.
Do y'all want to create a customized page of your site? Are there plugins that can take care of it for y'all?
There may be times when you just need to edit a snippet of HTML code rather than upload an entire file. If that's the instance, you can larn more about Editing HTML code.
Once yous're sure nigh uploading your HTML file to WordPress, you can move onto the steps below.
Precautions To Take Before You Upload An HTML Folio
As we've already emphasized, uploading an HTML file can cause errors on your WordPress site, then there are a few precautionary steps we strongly recommend:
1. Accept a backup of your site
E'er take a backup of your site before making major changes to your WordPress site like uploading an HTML file. Yous tin take a backup of your site hands in under a few minutes using our BlogVault backup plugin.
Install Blogvault on your wp-admin dashboard and sign up:
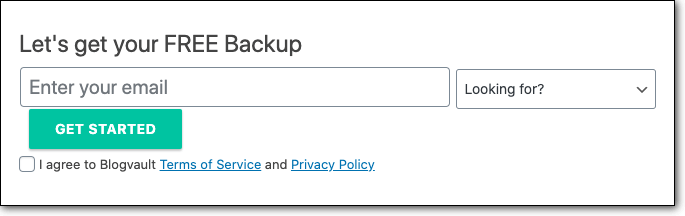
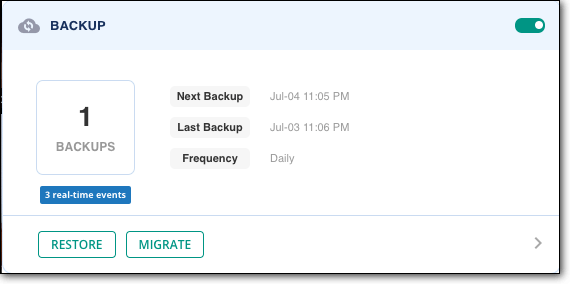
The fill-in procedure volition run automatically. If things go wrong while uploading your HTML file, you lot can easily restore your backup by clicking on the Restore button.
If Blogvault isn't your get-to option, check out the all-time WordPress fill-in plugins and our guide to manually backing up your WordPress site.
ii. Create a Staging Environment
A staging site is a replica of your live website where you can run tests and experiments.
Any changes y'all brand on a staging site won't affect your live WordPress site. You lot can upload your HTML file on this site to cheque if it works as expected. In case it throws errors or breaks your site, you don't accept to worry because your alive site remains intact.
We strongly propose against attempting to upload your HTML file direct to your alive site.
You tin create a staging site with BlogVault for costless.
As nosotros mentioned in the previous section, after your sign up with BlogVault, information technology will automatically take a backup for yous. Next, you tin can navigate to the Staging section on the BlogVault dashboard and select Add a Staging Site.
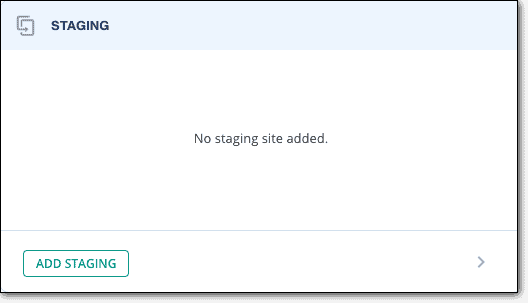
BlogVault will create a password-protected staging site. This ensures the site is hidden from search engines and any visitors.
Once the staging site is gear up, a username and password will exist displayed. Visit Staging Site, enter the login credentials you noted downwardly to access your staging site.

To login to the wp-admin of the staging site, add '/wp-admin' to the staging site URL, like and then:
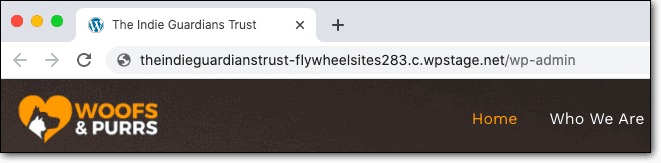
The login credentials are the same as your live site wp-admin credentials. In one case you're logged in, y'all can upload your HTML file using the steps below.
After you see that the HTML file works fine and you lot fix whatsoever errors that come upward, y'all can button the changes from staging to your live site. This saves y'all time and effort in re-uploading the file to your live site.
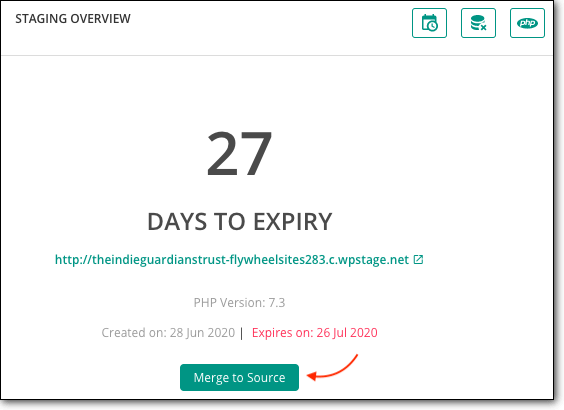
Your HTML file will appear on your alive site every bit well without any downtime and site breaks. Prepare to upload your HTML file? Let'due south brainstorm.
How to upload HTML File To WordPress Site
At that place are three ways to upload an HTML file to WordPress:
1. Upload an HTML file via the WordPress dashboard
two. Upload an HTML file using cPanel
three. Upload an HTML file using FTP
Using the WordPress dashboard is the easiest only this method doesn't always work. So, we've detailed two transmission methods too – via FTP and cPanel.
i. Upload an HTML File via the WordPress Dashboard
Step 1: Log into your WordPress dashboard and admission the Media > Add together New.

Footstep 2: Select the HTML file from your estimator and upload it like you would whatsoever image or video.
When yous practice this, you'll most probable run across an error similar this:

If you're unable to upload your file through the media library, you tin can attempt:
A. Uploading HTML file using Gutenberg
B. Uploading HTML file using Archetype Editor
A. Uploading HTML file using Gutenberg
Footstep one: Log into your WordPress dashboard.
Step 2: Create a new page or mail service.
Step 3: Create a new block by clicking on the + sign on the page.
Step 4: Search for File. This option allows yous to upload your HTML file:

Alternatively, you can copy-paste the HTML code into the post or page. On the right-manus corner, click on the three dots to become More tools & options. Select Code Editor.
This transforms the unabridged folio to HTML. You tin can re-create the HTML code from your HTML file and paste it here.

B. Uploading HTML file using Classic Editor
Footstep 1: Log into your WordPress dashboard.
Footstep 2: Create a new page or post.
Step 3: Select Add Media and upload your HTML file here.

Alternatively, you can toggle between Visual and Text editors on the right-hand side. The Text editor(HTML Editor) converts the page into HTML and allows you to paste HTML lawmaking. If uploading your file didn't work, you tin re-create and paste the code here.

2. Upload an HTML file using cPanel
If you had no luck uploading information technology via your dashboard, you can endeavor the manual method. We'll first show you lot how to employ cPanel to upload your HTML file.
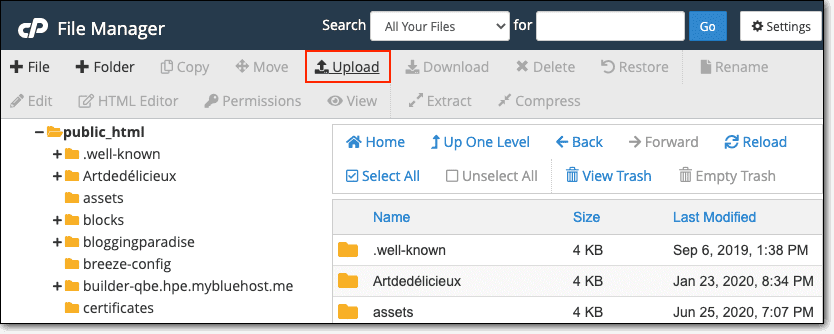
Stride 1: Log into your web host business relationship and access cPanel.

Step 2: Select File Director and then choose the folder called public_html. This folder should contain 3 more than folders called wp-admin, wp-content, wp-includes.
Pace 3: Create a folder here by clicking on the '+ Folder' option from the elevation bar card, and proper name it something of your selection.

Step iv: You tin upload a aught file here.
PRO TIP: Before you nix your file, yous need to rename your index.html to alphabetize.php (or proper noun it something else). This is because your WordPress site also has an index.html file. If y'all upload a new one, information technology volition overwrite the existing file and cause problems on your site.
In one case you've renamed the index file and zipped the folder, yous can upload it to the folder yous created.
Stride 5: Now you can right-click on the folder and Extract its contents. You can delete the cypher file if you lot wish.
That'due south information technology, yous've successfully uploaded the HTML file to your site.
3. Upload an HTML file using FTP
FTP stands or File Transfer Protocol is third-political party software that you tin install on your computer. It enables you lot to connect to your spider web server and access your website'south files and folders.
Step ane: Download and install Filezilla on your estimator.
Step 2: Open FileZilla and enter your FTP credentials that comprise a hostname, username, password, and port number. Click on QuickConnect.

Note: If y'all don't take your FTP credentials, contact your spider web host. Y'all can besides follow our FTP credentials guide.
Step 3: FileZilla will establish a connection with your server. You'll see a left-manus panel called Local site which is your computer and a right-hand console called Remote site which is your website.
Stride 4: In the correct-hand panel, open the folder called public_html. This is where your website's files and folders reside. If y'all have named your folder something else, select that binder.

Stride five: Create a folder here for your HTML files past right-clicking and selecting Create directory and enter information technology.

Step half-dozen: In the left-hand panel, select the HTML files yous want to upload, right-click, and select Upload.
This process can take a while to upload. Once washed, you'll see the files have appeared in the right-hand console.

Congratulations!
Y'all've successfully uploaded your HTML files to your website.
Yous can view if your file is successfully uploaded using your website's URL path with the file name. For example: https://instance.com/html-file. The file path should show you the HTML webpage yous uploaded.
How To Resolve Errors While Uploading HTML files
More often than non, uploading HTML files causes errors. Here's how you can resolve them:
i. If you run across "Sorry, this file blazon is not permitted due to security reasons", information technology means WordPress isn't able to take the HTML format or the file size. You tin follow our guide on How to fix "Sad, this file type is non permitted due to security reasons".
2. If y'all come across a 404 error, it means your server isn't supporting redirection. Yous demand to fix it inside your .htaccess file. You can admission the file using cPanel > File Manager or FTP. Edit this file and add together the post-obit line of code:
RewriteRule ^(.*)index\.(php|html?)$ /$ane [R=301,NC,L]
This volition redirect your index.php file and your HTML webpage volition load.
3. If you aren't able to figure information technology out, you may find help on the WordPress support forums or make it touch on with u.s.! We have a squad of WordPress experts in our evolution team. Just send us a quick tweet.
That brings us to the stop of our guide to uploading HTML files.
What Next?
If you lot're interested in learning more about adding custom HTML to WordPress, check out these plugins that help y'all exercise it without the technical hassle:
- Raw HTML
- WP Coder – add together custom html, css and js lawmaking
- Insert HTML Snippet
- Head, Footer, and Mail service Injections
- Permit HTML in Category Descriptions
- Videojs HTML5 Player
Recollect, whenever you're making big changes like uploading an HTML file, always backup your website so that you have a re-create of your site that y'all can restore. So, create a staging site using staging plugin and upload it there to see if it works. This method volition ensure your site never faces whatsoever reanimation!
Backup and Stage Your Website With BlogVault!
Source: https://blogvault.net/how-to-upload-html-file-to-wordpress/
0 Response to "How to Upload My Webpage Blog From Cpanel to Wordpress"
Postar um comentário